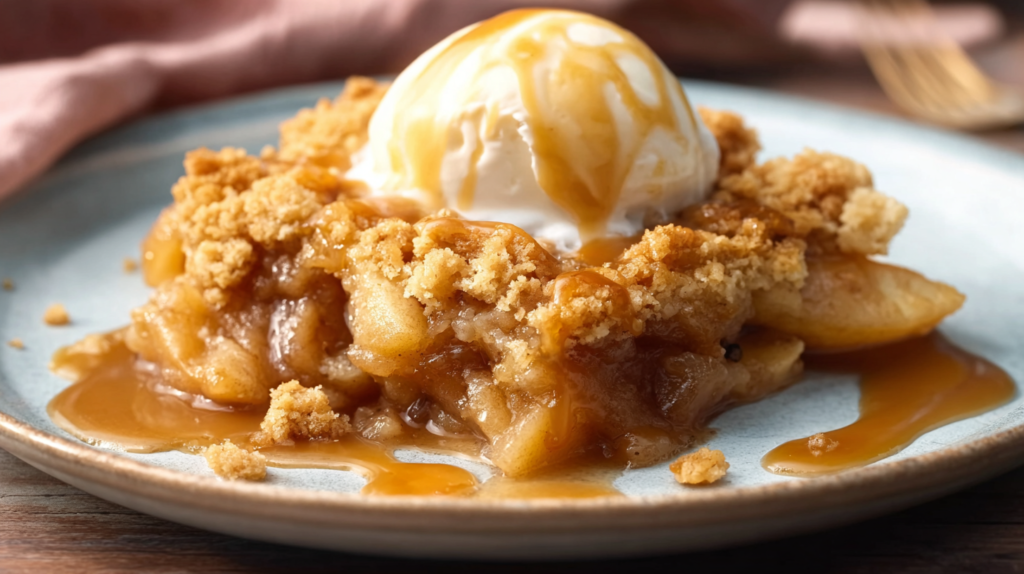
This apple cobbler recipe is warm, cozy, and so easy to make at home. You get tender cinnamon-spiced apples with a buttery golden topping — without the effort of making pie crust. It’s the perfect dessert for family dinners, holidays, or anytime you want something sweet and comforting.

Why Make This Recipe
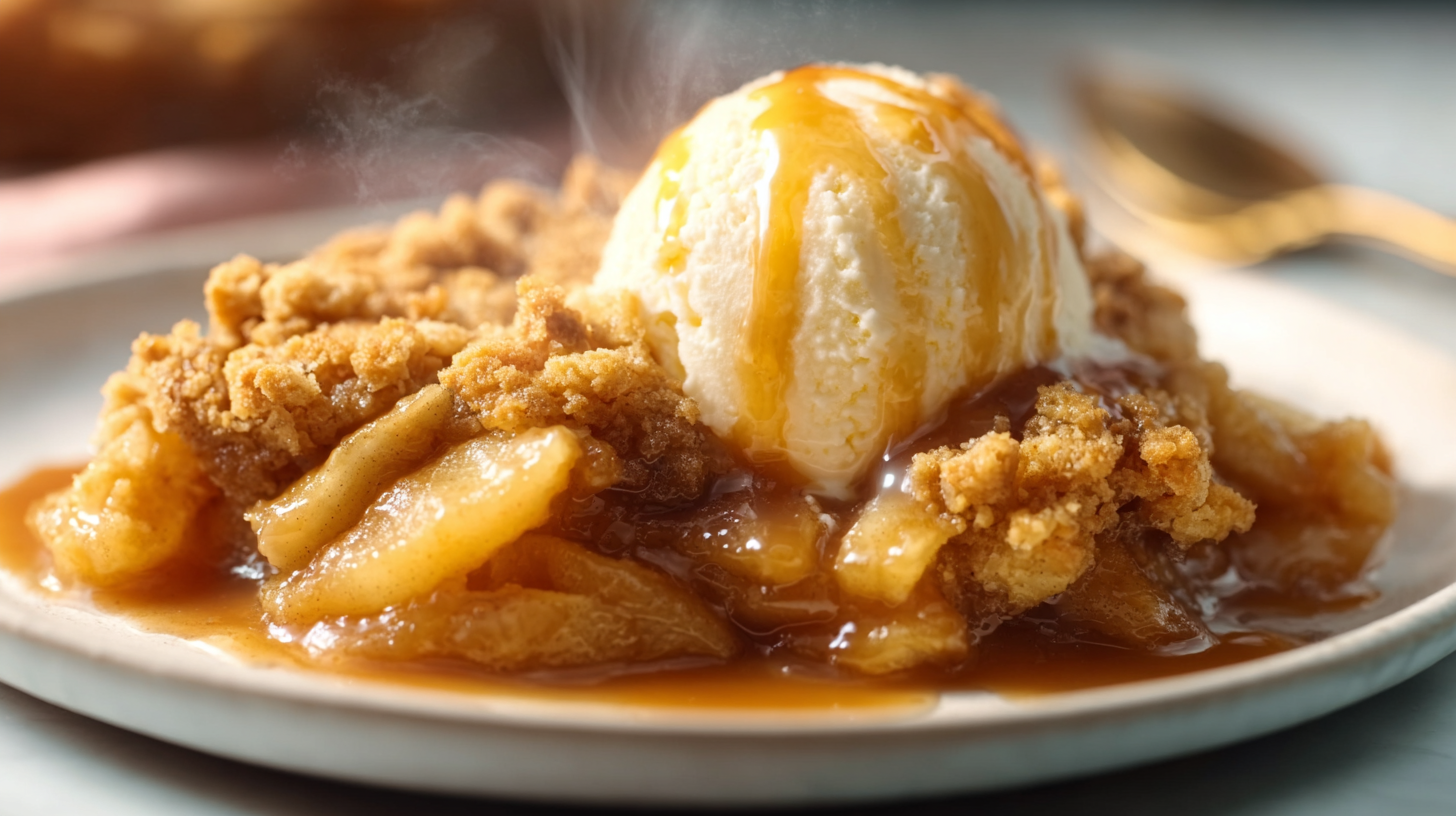
Apple cobbler is a classic for a reason. It’s simple, beginner-friendly, and always turns out delicious. The apples bake into a soft, saucy filling while the topping becomes crisp and golden. Serve it warm with ice cream and it tastes like pure comfort.
How To Make Apple Cobbler
Ingredients:
For the apple filling
- 6 medium apples (Granny Smith or Honeycrisp)
- ¾ cup granulated sugar
- 2 tablespoons all-purpose flour
- 1 tablespoon lemon juice
- 1 teaspoon cinnamon
- ¼ teaspoon nutmeg
- ¼ teaspoon salt
- 2 tablespoons butter (cut into small pieces)
For the topping
- 1 cup all-purpose flour
- ½ cup granulated sugar
- ¼ cup brown sugar (packed)
- 1 teaspoon baking powder
- ½ teaspoon salt
- 1 teaspoon vanilla extract
- 6 tablespoons cold butter (cubed)
- ¼ cup boiling water
Directions:
- Prepare the apples: Preheat oven to 375°F (190°C). Peel, core, and slice apples. Toss apples with sugar, flour, lemon juice, cinnamon, nutmeg, and salt. Spread into a greased 9×9 baking dish and dot with butter.
- Make the topping: In a bowl, mix flour, sugars, baking powder, and salt. Cut in cold butter until crumbly. Stir in vanilla and boiling water just until combined.
- Bake: Drop spoonfuls of topping over the apples (it doesn’t need to fully cover). Bake 45–50 minutes until the top is golden and the filling is bubbling. Let cool 15 minutes before serving.
Prep Time And Nutrition Facts
This apple cobbler takes about 20 minutes to prepare and 45–50 minutes to bake, for a total of about 1 hour and 10 minutes plus cooling time. It makes about 8 servings, and each serving has around 320 calories.
How To Serve Apple Cobbler
Serve apple cobbler warm with vanilla ice cream, whipped cream, or a drizzle of caramel sauce. It’s also delicious on its own with a cup of coffee or tea.
How To Store Apple Cobbler
Let it cool completely, then cover and store in the refrigerator for up to 4–5 days. Reheat in the microwave for quick servings or warm it in the oven at 300°F for about 10–15 minutes.
Tips To Make Apple Cobbler
- Use firm apples so they don’t turn mushy.
- Slice apples evenly so they bake at the same time.
- Don’t overmix the topping — a little texture is good.
- Make sure the filling is bubbling before removing from the oven.
Health And Benefits Of This Recipe
Apples provide fiber and natural sweetness, and this dessert can be adjusted easily. You can reduce the sugar slightly, use less topping, or swap in a gluten-free flour blend if needed.
Variation (If Any)
- Add ½ cup chopped walnuts or pecans on top before baking.
- Mix in a handful of cranberries for a tart twist.
- Use apple pie spice instead of cinnamon + nutmeg.
FAQs
- What apples are best for apple cobbler? Granny Smith and Honeycrisp work great because they hold their shape.
- Can I make apple cobbler ahead of time? Yes. Bake it, refrigerate, then reheat before serving.
- Why is my cobbler watery? It may need more baking time or the apples were extra juicy. Make sure it’s bubbling before removing.
- Can I use frozen apples? Yes, thaw and drain first, or add an extra tablespoon of flour.
- How do I make the topping crispier? Bake until deep golden brown, and reheat in the oven instead of the microwave.
- Can I reduce the sugar? Yes, you can reduce it slightly and it will still taste great.
- Can I freeze apple cobbler? Yes, freeze up to 3 months. Thaw overnight and reheat in the oven.
Apple Cobbler
Ingredients
Method
- Preheat oven to 375°F (190°C).
- Peel, core, and slice apples.
- Toss apples with sugar, flour, lemon juice, cinnamon, nutmeg, and salt.
- Spread into a greased 9x9 baking dish and dot with butter.
- In a bowl, mix flour, sugars, baking powder, and salt.
- Cut in cold butter until crumbly.
- Stir in vanilla and boiling water just until combined.
- Drop spoonfuls of topping over the apples (it doesn’t need to fully cover).
- Bake for 45-50 minutes until the top is golden and the filling is bubbling.
- Let cool for 15 minutes before serving.