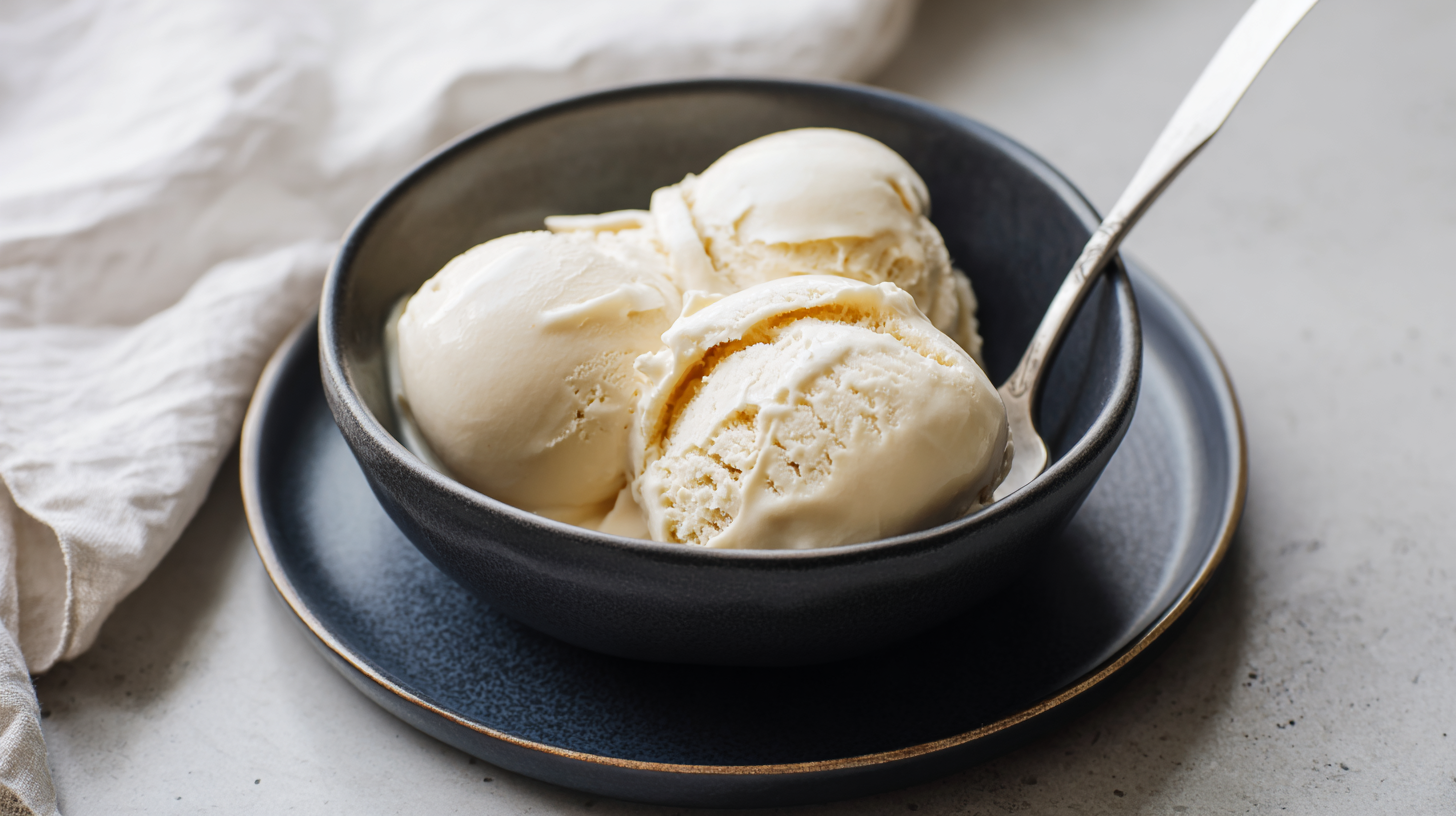
This Ninja Creami vanilla bean ice cream is rich, creamy, and tastes way better than store-bought. You get real vanilla flavor, simple ingredients, and that smooth “premium” texture right at home.

Why Make This Recipe
- It’s a true classic that everyone loves.
- You control the ingredients (no artificial stuff).
- The Ninja Creami makes it super creamy with almost no effort.
How To Make Classic Vanilla Bean Ninja Creami Ice Cream
Ingredients:
- 2 cups heavy cream
- 1 cup whole milk
- ¾ cup sugar
- 2 vanilla beans (or 2 tsp vanilla extract)
- 5 egg yolks
- ¼ tsp salt
Directions:
3-Step Directions:
- Make the custard: Heat cream + milk + half the sugar + vanilla + salt until steaming. Whisk yolks with remaining sugar, then slowly whisk in some hot liquid. Pour back into the pot and cook on low, stirring, until it lightly thickens (coats a spoon).
- Chill + freeze: Strain, cool, then refrigerate until fully cold. Pour into a Ninja Creami pint (leave space on top) and freeze 24 hours.
- Creamify: Run Ice Cream mode. If it looks crumbly, press Re-Spin once (or twice) until smooth.

Prep Time And Nutrition Facts
This recipe takes about 20 minutes to prep, then needs 24 hours to freeze. It makes about 4 servings, and each serving is roughly 245 calories (depends on exact ingredients).
How To Serve Classic Vanilla Bean Ice Cream
Serve it plain, or top with berries, chocolate sauce, caramel, crushed cookies, or pie.
How To Store Classic Vanilla Bean Ice Cream
Keep it in the freezer in the pint container for up to 1 week for best texture. If it gets too hard, let it sit 5–10 minutes before scooping.
Tips To Make This Recipe
- Freeze the pint flat and fully solid (24 hours is important).
- If it’s powdery after the first spin, Re-Spin fixes it.
- For extra vanilla flavor, use vanilla bean paste.
Health And Benefits Of This Recipe
Homemade ice cream lets you avoid additives and control sugar. You can also reduce sugar slightly or use a lighter milk if you want.
Variation (If Any)
- Vanilla Oreo: add crushed Oreos using Mix-In.
- Vanilla caramel: swirl caramel after spinning.
- Dairy-free: use coconut cream + oat milk (texture will be slightly different).
FAQs
- Do I have to use egg yolks? No, but they make it richer and smoother.
- Can I use vanilla extract instead of vanilla beans? Yes — use about 2 teaspoons.
- Why is my result crumbly? Totally normal — press Re-Spin.
- Do I really need to freeze for 24 hours? Yes. If it’s not fully frozen, it won’t creamify correctly.
- Can I reduce the sugar? Yes, but too little sugar can make it freeze harder.
- Which setting should I use? Use Ice Cream.
- Can I add mix-ins? Yes — add after the first spin and use Mix-In mode.
Ninja Creami Vanilla Bean Ice Cream
This rich and creamy vanilla bean ice cream made with the Ninja Creami is better than store-bought, featuring real vanilla flavor and simple ingredients.
Ingredients
Method
Making the Custard
- Heat the heavy cream, whole milk, half the sugar, vanilla, and salt in a pot until steaming.
- In a separate bowl, whisk together the egg yolks with the remaining sugar.
- Slowly whisk in some of the hot liquid to the egg yolk mixture to temper it.
- Pour the egg mixture back into the pot and cook on low, stirring, until it lightly thickens and coats the back of a spoon.
Chill and Freeze
- Strain the custard mixture to remove any lumps and allow it to cool.
- Refrigerate the custard until fully cold, then pour it into a Ninja Creami pint, leaving space at the top.
- Freeze for 24 hours.
Creamify
- Run the Ice Cream mode on the Ninja Creami.
- If the ice cream looks crumbly, press the Re-Spin button once or twice until smooth.
Notes
For best texture, keep the ice cream in the pint container in the freezer for up to 1 week. Let it sit for 5–10 minutes before scooping if it gets too hard.